"It looks so good" teaser...

11:03 AM

Hey sorry I havent posted in a couple days but with work kicking into overdrive and prepping our plans for Europe we have been pretty slammed.

Oh yea, did I mention we are going to EUROPE?!  Although Chris and I got married in October 2011, we REALLY wanted to go to Oktoberfest in Germany for our honeymoon and instead of pushing up our date or taking a pre-marriage honeymoon (is that even a thing?) we decided to save up and go in 2012 so our wallets and psyche would be ready for it.

Long story short, we leave in 4 days.... so excited I could literally pee my pants (...bonus points for awkward visual...).  We are having a buddy stay at the house while we are gone so we know our furry little gentlemen will be well taken care of.

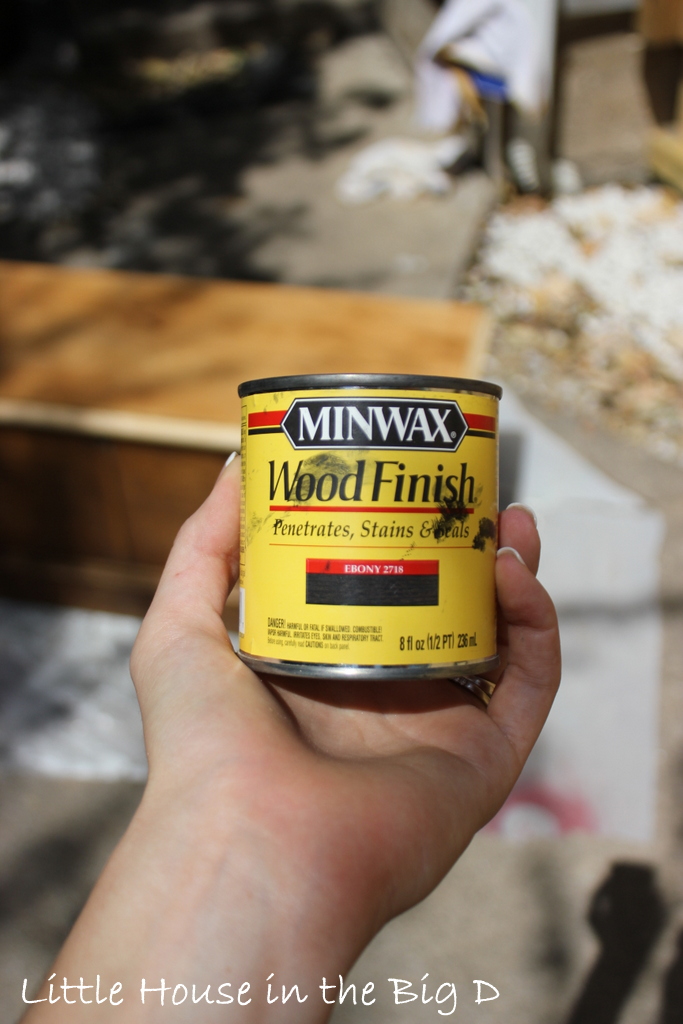
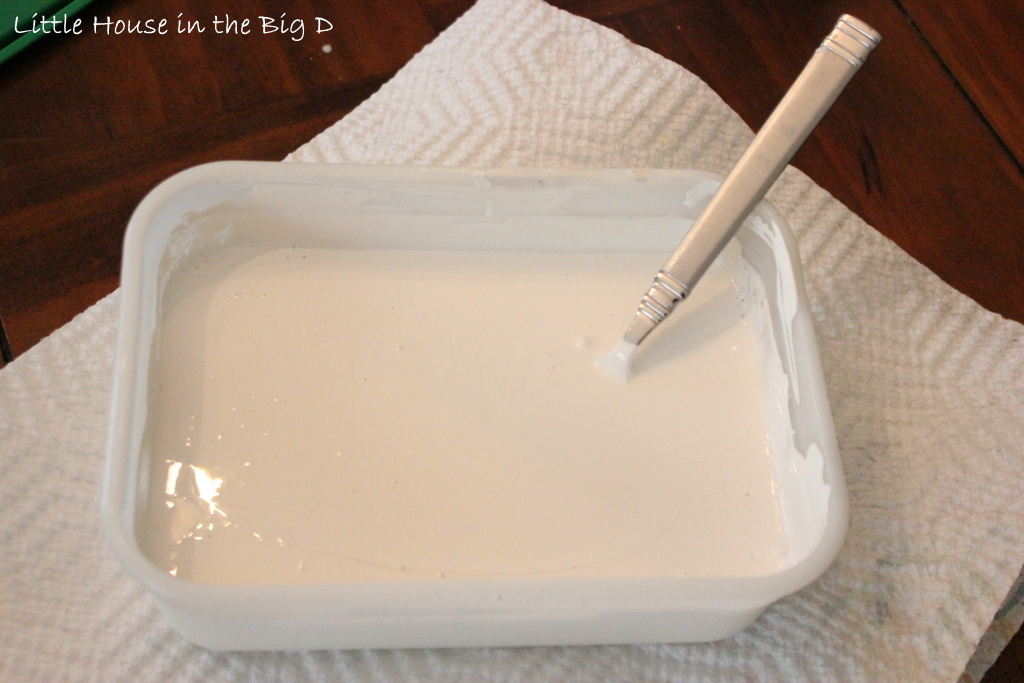
ANYWAY, we are still getting some stuff done before we leave and wanted to tease you with these non-Chris-approved pictures as a teaser for a SUPER nice change we made.

View of my husband's awesome bum... (without his knowledge)...

View of Chris as he tells me "Seriously, put the camera away"
Sorry these pics are kind of blurry (I took them with my cell phone all stealth-ninja like since I was trying to stay out of Chris's way but still be able to somewhat explain what we he was doing).

Should have it unveiled by tomorrow, if not first thing Monday, but its definitely something that Chris and I starred at last night after finishing and just repeated the phrase "It looks so good.  I mean really, it looks so good.  So good."

Can't wait to share!

-Samm

P.S- Sorry, but going back to our little Europe getaway.  We are also going Paris and London in addition to Munich.  Anyone have any suggestions of stuff that we HAVE to do?  It's my first time across the pond :-)

Garage Sale Weekend Recap

10:31 AM

As per usual, I woke up Saturday morning with a glimmer in my eye and excited as ever to get out on my route to shop garage/yard/estate sales.  Its quickly become my "thing" and I just love seeing if I can find treasure through someone else's junk.

So you can imagine my disappointment when this past Saturday turned up a big fat nothing.

Wha-wha.

Sure, there were signs and sales out, but nothing that I just HAD to have.

But you know what? Sometimes that happens!  It actually makes the days that I DO find something exciting all that more special.

I had pretty much already conceded to that fact that this weekend was going to be a bust, but randomly, a SUNDAY moving sale ad on craigslist caught my eye.  I figured I might as well go check it out since Chris was working this weekend and (since we had the house appraised last Friday for refinancing and our chateau was SPOTLESS) I didn't have any cleaning to do! I'm always down for a little driving around!

However, on my way, I was distracted by something shiny a garage sale sign leaving my neighborhood and decided to stop.

Good thing I did because I actually found a couple cool things.

One was this 18"x12" old motorcycle sign.

 Yellow and blue are two of the accent colors we are using in the guest room so for $7 (haggling) I thought it was a fun unique piece.

I also found this little guy for Chris.
 My husband has a thing for pigs.  Not as a pet or anything, but as the magical creature that produces bacon, ham, pork, pepperoni, salami, chops, tenderloin, ribs, pork shoulder, etc, which just happen to be all of Chris's favorite foods.  No joke, he wants to paint a pig mural on our kitchen wall... this one actually...
As found in our favorite Dallas restaurant, Cane Rosso... picture and article from HERE
Hopefully, Chris isn't set on a PINK pig, but getting him a little wrought iron pig to put on top of our wine rack will hopefully keep him content for now.

I also got this heavy iron Texas cut out for $3.
 Rustic, different, and totally Texas... worth the $3 for me.

Another rustic piece that caught my eye was this wood and cast iron crate.
 It was marked "Co Verts" and felt like 100 years old.  I even loved the cast iron bottom... maybe a planter?
I actually put some felt feet on it (can't have the iron leaving rust stains on the hardwood!) and now use it to hold magazines by the couch... I'll probably switch it up and have it hold firewood in the winter.  We'll see! $15 and a million uses.

After leaving that sale on a high, I saw another sale going on (no sign, just stuff out on a lawn) and really liked this large solid wood frame.
It was only $5 (say wha?!) but sadly I couldn't think of a spot for it in the house so I had to pass (no need buying something, even for $5, if you don't have a use for it)

Still trying to head to my original craigslist moving sale, the garage sale Gods must have been looking down on me since I saw random garage sale sign #3.

AND took a shining to this little lady...
 A beautiful, solid wood, french provincial dresser... dove-tail bracketing and all, I made her mine for $75.  Definitely have some fun ideas in mind!!!

Finally, about an hour+ after leaving home, I make it to my original destination... ... ... ... and everything was already picked over.

The only thing left was this guy.
For $100, I wasn't too interested, but after talking to the family and learning that it was a solid mahogany AND Chris and I sorta have been in the market for a new buffet, I took him home for $75.   Chris isn't too smitten with it, so I may just resell it... BUT if I REALLY want to go crazy with it, I may put on new legs along with some new pulls... we'll see how it goes.

So, to sum up the weekend, Saturday was a stinker and Sunday was a savior.... Who knew that Sunday could be the new go-to day for yard sales?!

Did you guys get any scores or deals this weekend?  Has anyone else had random luck on Sundays? I would love to hear from you!

-Samm

Kitchen Table update

1:53 AM

So we've had our new kitchen table now for a couple weeks and its still growing on me...

To see what we had before, click HERE
It's a bar height table so its a bit tall for the room, but one of the things that had been bugging me most about it was the lack of seating. If we had more than two people come over (and yes, we have more than 2 friends) just having 4 chairs wasn't going to work for me.  So, I have browsing craigslist (shocker) to see if anything tickled my fancy.

After about a week of looking, I saw these.
A set of two leather chairs with wood legs the same color as our table... a few e-mails later, they were mine for $50 (gotta love some hardcore haggling skillz... yes, skillz with a "z")

Chris and I headed to the Bishop Arts district to pick them up (about 20 min away), and I suddenly remember why I always handle Craigslist transactions with my manly man by my side...
The place was a rough, in a pretty tough part of town but with the chairs left outside, it was nice that we didn't have to go inside and were able to get everything settled up and headed out in less than 5 minutes.

The good news is that the chairs were in PERFECT condition! Seriously!
No rips, holes, broken chair legs... they were great!

Since we were already out and about, I convinced Chris that we also needed to swing by one of my favorite stores, HomeGoods (I don't know why... probably just to look around...still really don't know how I wrangled Chris into thinking that was a good idea... every time I walk in there, its like going into a black hole... I lose hours in there... sometimes days... Poor Chris, he never knows what he's getting into when he's with me.)

However, when we started walking around, we saw some familiar looking faces chairs...
 
Not 100% an exact match of the ones we just bought... but I definitely started to LOVE our price a lot more ($50 for two craigslist chairs or $160 for two HomeGoods chairs?  I'll take my perfect $25 chairs all day long!)

After feeling a lot better about our investment, we took our chairs home and settled them in...

First, hiding them behind the table.
Then seeing how they look as accent chairs at the ends.
Score. I love them!
 Lucky for us, the dark leather accents the table wonderfully and the wood legs are close to a dead match.
 With the table being so high, it also draws a lot of attention to one of my favorite features of the house... the dining room chandelier.
 I bought this beauty with my mom at a resale shop about a mile away when Chris and I first got the house. The shiny white and twisted detail still make me swoon like the first day I saw it.
 Love.

So there you have it! New(ish) table, new chairs, and a new MUCH better looking dining room.
I'm still on the fence about the height, but for right now (at least when we have friends over) this will work just fine... I likey.

- Samm

P.S- I had some pretty successful garage/estate sale finds this weekend! I'll have a rundown for y'all tomorrow and how my new favorite shopping day maybe changing...

Chalk Paint trail and Hope Chest makeover

9:28 AM

That's right... hitch me up... I'm joining the chalk paint bandwagon.

After hearing for MONTHS about the glory of chalk paint, I have been perusing garage/yard/estate sales and Craigslist for a piece I could experiment on.

This last weekend, for $20, I finally found my guinea pig.

From the outside, it really wasnt much to look at, but when I hoped it up, I found that it was actually a cedar hope chest made by Lane.
I wasn't really aware if the "Lane" was good or not, but Chris suggested that I google them since he had heard of the brand before...

Come to find out, it is a VERY nice brand and cedar chest like the one I found are going for $300+ on Amazon!!!

SCORE!

But what really drew me to this piece, was the uber cool handles on the front. 
Yes, the are just for display since this is a chest and not a dresser (I really love the 1970's mentality of "maybe we'll make them THINK its a dresser if we add drawer pulls and cut outs, but then TOTALLY psych them out and make it a chest".... ah the 70's)

Even though they were already a dark bronze, I figured it would be best to spray paint them to give them a total uniformed look
With my BBF "Oil rubbed Bronze"...

Boom.

Now that the handles were off, I was finally able to take a step back and really look at the bones of this sucker.
First thing I noticed, the top was NOT going to work.
Sad, chipped and mistreated, I sanded it down with 60 grit sandpaper and then smoothed it out with 220 grit.
MUCH better...
I know it looks like i missed some there on the right, but that was actually just the color of the cut.

To make the piece stand out a little more than having JUST paint on it, I decided to give the top new life with a nice dark stain.

Word to the wise, ALWAYS use Pre-stain...
If you are going to take the time and effort to sand down and re-stain a piece, this little $3 investment is worth it to make sure the wood is properly prepped and ready.
Just use an old rag... easy-peezy...

After giving that about an hour to dry and set, I decided to go with a deep "Ebony" stain to give the piece some drama (and what type of chest would it be without Drama?!)
Knowing that I still wanted to keep the piece shabby chic, so I tried something a little different with the stain.  I left it heavy in some parts and lighter in others... kinda giving it a "lived in" feel.
As the stain was drying, my attention was turned to the body of the beast.

I had read some links on pinterest that said if you plan to shabby chic your piece (which I was) to paint over the areas you want an accent color showing through... I kept it simple and went with a black.
Additional fun little tip, after the accent paint dries, coat it with a little Vaseline to make the sanding process easier. (I used about a Tbs and rubbed on my finger tips then onto the chest edges)
Remember to go LIGHT on the Vaseline... do not glob it on.

Now comes the fun part! CHALK PAINT!!

I did a little research on my end and found there are many, many, MANY different recipes for chalk paint, but with a little tinkering, this is what worked for me:

In case you are unfamiliar with Plaster of Paris, it can be found near the Elmer's glue and Mod Podge at your local craft store.
I bought this one with a 50% off coupon at Joanns for only $3.49
First, measure out a half cup of Plaster of Paris and a half cup of hot water (I threw mine in the microwave for 30 seconds.
2. Don't tell your husband you are using food storage containers or forks that you may eat with. Mix the Plaster of Paris and water together so there are no clumps
For all those worried, I thoroughly cleaned these after using them and are now "craft only" containers
Next, mix in your 1.5 cups of paint... I chose Swiss Coffee by Dunn Edwards (its my go-to white)

Make sure everything is good and mixed in.  Take you time.  You will start seeing the paint get thicker and thicker.

The thing I was looking forward to the most while experimenting with chalk paint was the whole "no primer necessary" claim.
After 2.5 coats, I was very pleased with the results.
Going back to the top of the chest, since the stain was good and dry (about 4+ hours after originally staining it and letting it dry in the 106-degree Texas heat) I decided to give it a good coat of Polyurethane to secure the stain and protect it from future abuse.
Side note: If I've said it once, I've said it a million times.  MAKE SURE that if you are using a polyurethane on a stain, you are using an OIL based poly.  If  you are using it on a painted surface, use a WATER based poly.

After I applied everything and let it dried, I was TOTALLY loving what was starring back at me.
The wood grain texture on the top turned out EXACTLY how I wanted it and the poly gave it a really nice finish!
Since it was getting dark, I let the piece fully dry outside for the night, then brought it in the next day to begin sanding (**husband note: Hunny, it was a million degrees outside and and I made sure to clean up my mess... ... ... I betcha didn't even know I did this inside, did ya?... Yep, I'm THAT good of a cleaner upper... ... P.S- The dogs destroyed the living room... that wasn't me.**
I used a high 200 grit sandpaper
I did notice that the shabby chic/sanding process was a LOT easier than on some of my other pieces.  Im not 100% sure if that is from the chalk paint OR using the Vaseline but it came off much easier and more controlled... didn't flake at all.

After I finished, I reattached the handles and took a step back to admire the finished piece.
Ohhh...
Ahhhhh....
Work it...
All in all, I LOVE IT! And I'm so happy to lose my Chalk paint "innocents".  It was a fast and easy project (total, probably took me 6 hours not including dry time) and think it's a great piece with a new life ahead of it.
What do you guys think?  Would you have done a different color? Have you tried other recipes for chalk paint? Did they work for you?  I would love to hear your experiences with it!

-Samm

Like us on Facebook

Little House in the Big D

Flickr Images