Adding additional foliage....

12:47 PM

First off, I have to apologize to my high school English Honors teacher, Mrs. White. To write the tile of this post, I had to look up how to spell "foliage" which I'm pretty sure was a word we learned to spell and define my freshman year.  Mrs. White, I have failed you... the good news is I graduated with a degree in Journalism, so I think that means I tricked enough people (not just you) into "thinking" I can spell... ... ... apparently I owe my diploma to Google.

Anyway, back to our foliage (n. Plant leaves, collectively *source: Dictionary.com). We are still LOVING our deck and use it on a daily basis... especially on the weekends.

Even though its been a couple weeks, it still pretty much looks like this...

 and yes, the boxer is probably still lifting his leg outside...he strikes this pose a lot.

As you probably remember from HERE that we added some vining flowers up the side of lattice.
**for all those who left comments about the Wisteria plant, there's an update on that coming soon**
But there was still a lot of empty room on the left and right of the stairs... so I asked my trusty handy man to build yet another planter bed...

 A Home Depot trip and $85 later, we brought our haul home...
We decided on hydrangeas for the right side...
And azaleas bushes for the left side...
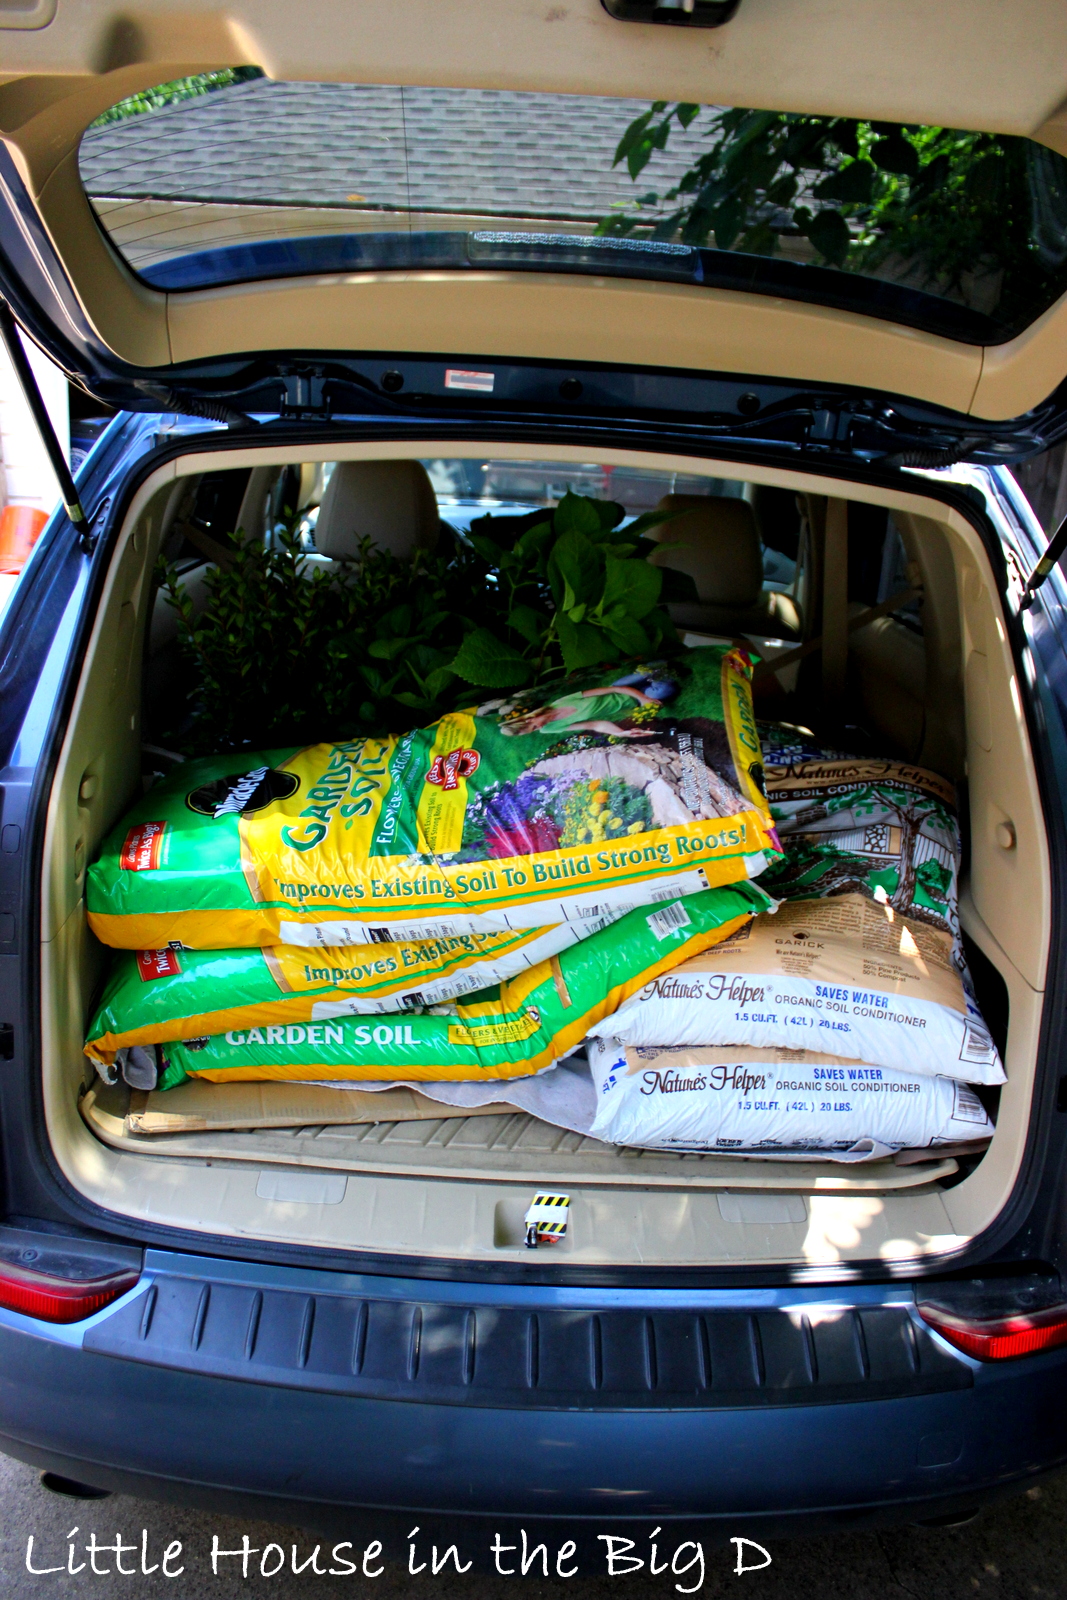
After digging and planting them in cow poop fresh manured soil, it looked like this...
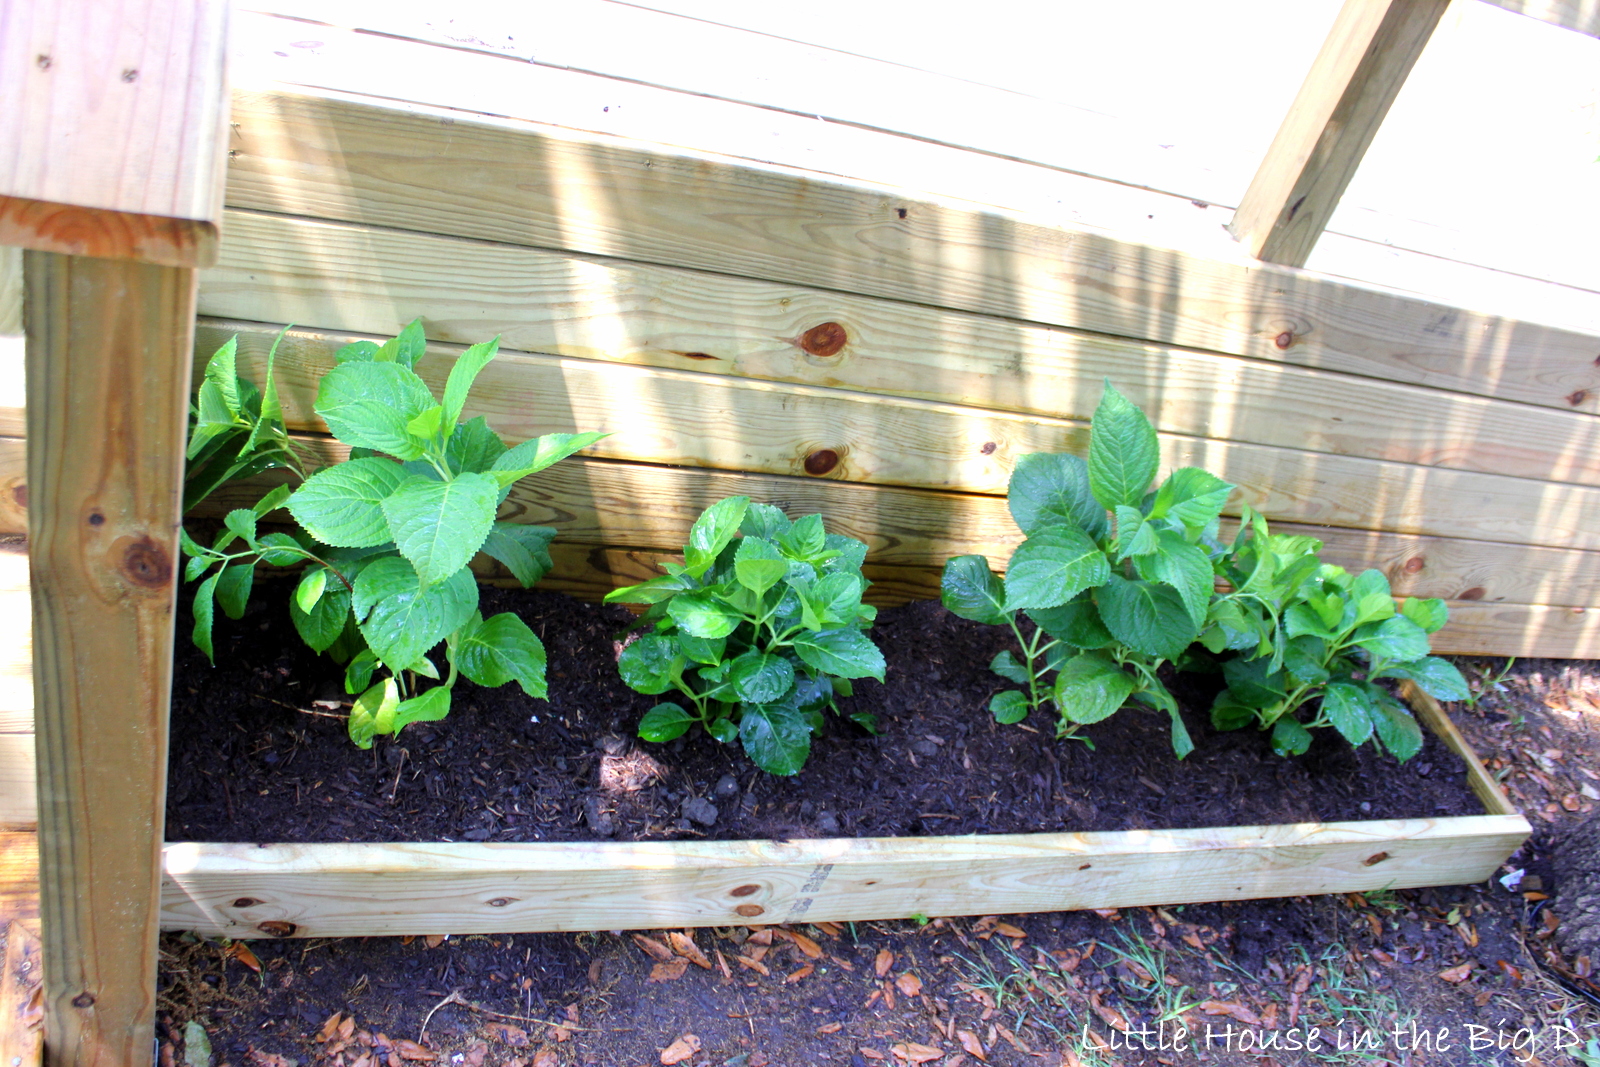
SOOOO much better....
And the nice thing about hydrangeas is they will still grow even in moderate shade!
Since they will mostly be seen from people standing on the deck, here's the "deck view" for you...
...azaleas...
And hydrangeas...
And as always, a quick before/after for ya...
We are headed to my cousin's wedding in California next weekend, but hopefully after we come back, we will be ready to stain the deck!!! AHHHHHH SO FREAKIN' EXCITED!!!  Even though we are still deciding on colors.... any suggestions?I would love to hear your thoughts!

Thanks and I hope everyone has an awesome and SAFE Memorial Day weekend! (Go hug an active duty or veteran member of the forces if you can... Please keep in mind the TRUE meaning of Memorial Day is to remember those who sacrificed their lives to help us breathe the air of freedom and NOT just to give us an extra day off work!) 

Thank you to all those who did, do, and will serve our great country!! God Bless!!!

Peach War 2012: Now I'm PISSED!

9:22 AM

I'm fed up. No more Mrs. Kinda Nice Lady. No more "aww they're so cute"...

Break out the over dramatic theme music; the squirrels and I are at WAR!!!

Remember back a couple months ago when we planted our peach tree, Georgia?  Yea, she's awesome and has kind of become a part of our family (as in, I talk to her often when I water her and like to pretend she is a loud, sassy, southern women... because every family NEEDS one of those).

Anyway, in the past 2-3 months, she has been doing EXTREMELY well and its been a joy to watch her buds turn to blooms, turn to little tiny peaches...
sorry for the blurry pic: cell phone
  and grow into medium sized "almost-there" peaches.
So you can imagine my disappointment when these little devils started showing up a lot more often.
Again, cell phone shot - through the glass in the sunroom...
 So far, they have only been taking the smaller peaches, reachable near the fence, and I haven't minded so much (thought process: "aww, they have families to feed").  But when I came out today to check on my girl, I found that she had been savagely ambushed assaulted bombarded attacked by the wild beasts (new thought process: "Mother-****ers have to DIE! Kill their babies!!"
Also being raped by a platoon of ants... Damn animal kingdom army... poor Georgia...
I threw a couple over the fence, but the more and more I checked her out, the worse the body count was...
 All in all, eleven casualties were reported... Rest in Peach...

Then, it hit me. A couple weeks ago my good friend Jenn tweeted me this lovely piece of advise for Rocky (he too has an ongoing squirrel war over the backyard):
 If you can't read it, it says: "To keep squirrels from eating your plants, sprinkle your plants with cayenne pepper.  The cayenne pepper doesnt hurt the plant and the squirrels won't come near it"

Bingo. Apparently unlike tigers, squirrels hate pepper (bonus points if you get the reference).

Because Chris is a super-chef-man, I knew he would have to have something in the pantry o'spicies, since I'm convinced he keeps every single spice ever made in there.  Low and behold, I found this:
 It's not "pepper" but I'm sure it will work...

So I loaded it up in a spray bottle and mixed it together with some water (**side note: Chris, honey, we need more cayenne sauce**).
 I made sure and give a good spray to the remaining nine (yes, only NINE) peaches and covered Georgia from head to toe.
 All the while, I kept Chris up to date with what was going on...
Looking back, I should have remembered that we live RIGHT across the street from an elementary school, so maybe next time I'll keep the language to a minimum.  I hope the squirrels got the message though...

So there you have it... what is left of my poor Georgia.
So naked without her peaches.  You can't even see the remaining nine (I encouraged them to go into hiding) but they're still hanging on there.

Have you guys had any squirrel issues in the past? Has cayenne pepper/sauce worked for you? I promise to keep you up to date to determine if this strategy works.

-Samm Army
aka. "the Good guys"

Flashback... how we redid out fireplace

10:07 AM

This is one of the very first remodel jobs we did INSIDE the house... mostly because it was starring me like an ugly toddler with his first tooth dangling out of its mouth...

Our fireplace.
Hideous, no? And whats with the white tile square... WHY JUST ONE??!!
I was BEYOND eager to cover up the "acne scar" on the face of our poor little living room, so Chris and I picked up some $2.59 kitchen tile back splash and $1.49 travertine tiles at Home Depot and went to it...

First we had to cut our 18" tile with a wet saw since we had to cut around the angel of our fireplace molding...
 Thank God we bought some extra practice tile...

Good job sweetie....
Sorry I dont have a picture of the actual blue and grey subway tile we chose, but it PERFECTLY matched our living room wall color (Restoration Hardware: Silver Sage)
 (if you couldnt tell, gravity was a bit of an issue, so we used a very scientific method tape to keep everything in place)

And used the travertine on the base of the fireplace...
It was nice that the previous (SUPER UGLY) tile squares were even with the wood floor, so building right on top of it and making a little lip wasn't bad at all.

We also added a white quarter trim boarder to make the transition from wood to travertine tile a bit smoother.
 
 This is probably one of my favorite pictures of Chris...
A man and his gun...
Once was all said and done (and the tape removed) our new fireplace looked SOOOOOOOOOOOOOOO much better....
 I mean really... come on...
 And I also found a SUPER cute curly iron fireplace guard which just capped off the whole thing...
 Its so funny to see the before and after... no more snaggletooth white tile!
So although this project was finished MONTHS ago, its still one of our favorites to look back on since it really is the center piece of our living room (and it was the first project Chris completed without the help of his dad... my husband is so awesome)

So what do you guys think! Do you like it? Would you have done a different tile? We thought we were pretty ingenious by using kitchen backsplash tile, but then again this project was BEFORE we became DIY junkies!

-Samm
Follow my blog with Bloglovin

Garage Sale Window Panes turned Kitchen Art

10:06 AM

A post about a garage sale find???!!!! (I will give you all time to recover from the shock... ... ...)

With the remodel of the laundry room and finishing my super cute frame wall in the kitchen, there was only one part of the kitchen that I just wasnt feeling.... our wall utensils...

please enjoy this rump shot courtesy of Gus and Rocky giving you the stink-eye while eating dinner... soak it in...you're welcome
They just seemed heavy and didn't really go with the whole shabby chic theme our little, miniscule, petite, teensie, tiny, small kitchen was going for.

 Here's a couple more pictures of how they looked...

Yea, they just didn't "go".

So when I found these window frames at a local garage sale for $5 a piece, I pounced on them...
Of course I didnt now where I was going to put them right away (I knew it would come to me later and for $10, it was worth the minor wait)
After consulting both Chris and my mother (thank GOD for "face time") We all decided to finally remove the oh-so-large utensils (which I never planned on using... unless Chris was/is planning on making me some super large bowl of spaghetti, then we'll talk about it...)
As I was cleaning and washing down the old window panes, preping them for their debut, Chris marked them for their picture framing hooks...
While we worked in the driveway, we also had a spectator peaking through the backyard gate...
Oh Bean....
Yes, I am the mother to the world's cutest dog... I know...

But back to the window panes, Chris did what he does (installed the frame hooks) and we were good to go...
But before we hung them, I wanted make use of the one panes that was missing glass in the middle... So I measured out about five inches down from the top of the frame...
And decided to lace it with some burlap twine I had laying around...
And hot glue-gunned it on each side...
After I cut off the remanding strands, I was left with a taught tweed twine...(say that 5x fast)...

Once we hung the window panes up, I decided to use a clothes pin and our old "Thank You" from our wedding which my mom helped us create...
Lavender was a theme throughout our wedding so it only seemed fit that we included a bundle with the Thank You as well...
Here's the finished product all hung up and pretty like...
 So what do you guys think? I know its kinda super shabby chic, but with the additions of the frames, Im kinda feelin' it.  We can always change out the "Thank You" with a cute black and white picture or "burlap inspiration of the month" but for right now, it kinda works.


Have you guys ever done anything with old window frames? I also made a photo frame out of one which is currently in our laundry room as seen here, but I would love to know what y'all think!

-Samm


Like us on Facebook

Little House in the Big D

Flickr Images