The Deck... pt 2

10:05 AM

Let's see here... where did we leave off?...

oh yea...

WOW! Looking back on it now, we got a LOT done in one weekend! I guess thats what happens when you have 4 Yanniello men and one manly Blake friend helping out!

Week 2 is all about the stairs and pergola...

Since I have been dubbed the "boss" of this little extremely large and costly project, Chris let me chose options for the top of the pergola (aka how much light would be let in)...

Option 1:
Option 2:
Basic outline of the pergola...
I decided to go with option 2, since I still wanted the space to feel open, and not like we had an extension of the roof over the deck... which would feel a little too "closed" for me.

Chris liked Option 1, but since I pulled "Boss rank" he agreed to go with Option 2... ... ... and the boss is never wrong. Ever. (spoiler alert: maybe I was on this one... but more on that later)

So that weekend, we started...

Oh did I mention that Blake came back? (even after all the torment and hours of labor we put him through in the first week)... Yea he's a good guy... we love him.

Our buddy Jared also came up from Ft Hood where he is stationed since he came back from Iraq... (sidenote: Ladies, he is also single, tall, funny, and is pretty good at bar games such as "Big Buck Hunt"... thats a winner in my book if there ever was one)
We bought these pre-cut stair guider's at Lowe's when we went to pick up more wood and MAN, are they useful!
Since our backyard isn't 100% "even", they required a lot of time raising, hammering, and leveling but totally made the job 10,000x easier than it would have been trying to make our own stairs...
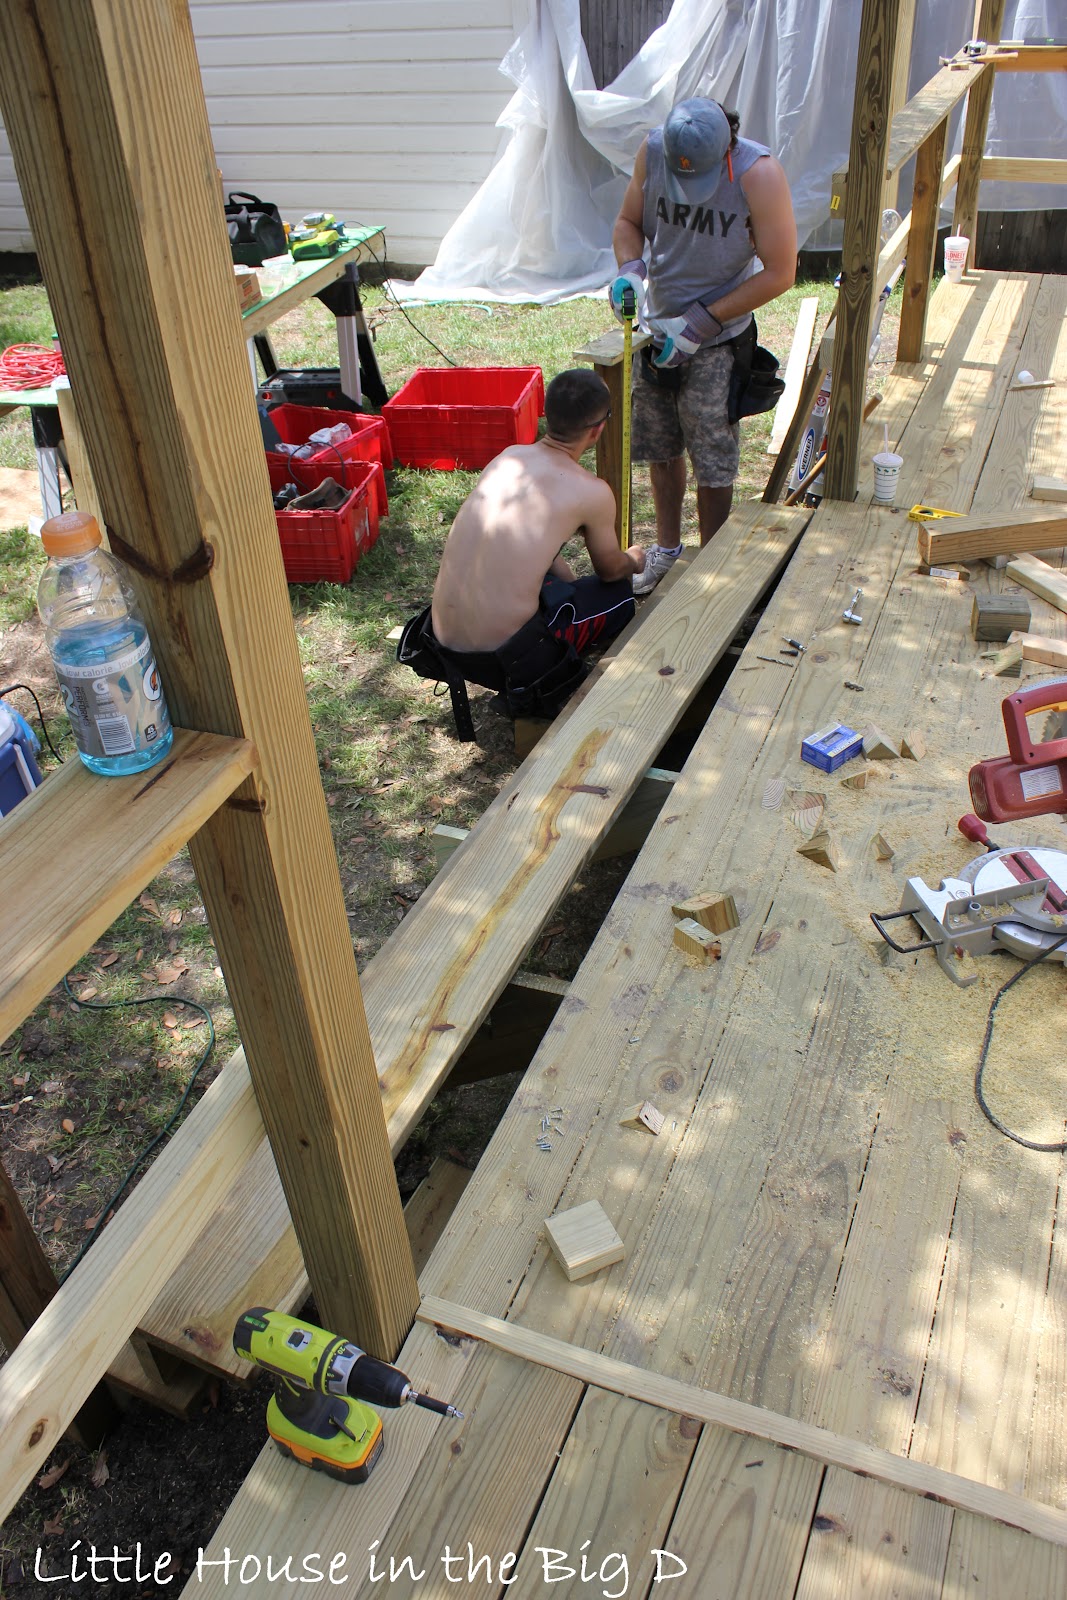
Chris and his dad were hard at work building the stairs...
While Blake and shirtless Jared finished up the railing...
Teamwork...
In case you guys didnt know, Blake is a rocket scientists... Im not joking (on his company webpage, it's listed as "Research, design, development, manufacture and integration of advanced technology systems, products and services. Specialties include aeronautics).  This being said, Blake was our go-to man on this deck for anything that had to deal with precise angels and measurements... aka making sure the railing was perfect.
While Chris's dad took a break from the Texas pre-summer heat (we are already well into the 80's), Chris and Jared finished up the stairs...


The above picture should be entitled "Men: Doing manly things"

And just when we thought everything was smooth sailing... we hit a bump.

Not really a bump, but a kink in our plans regarding the pergola.

We had "planned" to do one large pergola over the entire bottom portion of our deck.  However, we couldnt make it too tall due to this ugly thing:
Yep, that would be our power line and our main source of electricity to the house.  It cuts all the way across our yard where it hits the middle back part of our house.

I hate it and it's ugly.... and I've told it that MANY times.

The problem was that the lower deck was 8" shorter than the top deck (we did this since our yard in on a slant and would have been WAY too high to all be on one level)...
 And hence the lower deck Pergola would have been too awkwardly low for the top deck...(our tall friends could have hit their heads walking by it)
 What to do, what to do?

And then, because he's brilliant, Chris's dad suggested a two step pergola.

GENIUS I tell you! GENIUS!
This way, when you round the corner and step down, the pergola will be nearly 12 ft high and the lower, little secluded part will still feel nice and cozy with a 9ft+ pergola!

This also worked out perfectly since we have 6 posts and could easily make the pergola two different, yet even, halves.
Ummm I'm going to LOVE it...
The hardest part about getting started? Drilling the holes...
 
I know it doesnt look too daunting, but you have to remember we are drilling through about 7"-8" of solid wood... and thats not easy.  Honestly took about 15 minutes to drill ONE hole. (Insert inappropriate joke here)

While Chris drilled away at the hard stuff, I drew a pattern for the edges of the pergola... I wanted to go with something like this:
photo from here
See how the ends have a bit of a sassy flare? 

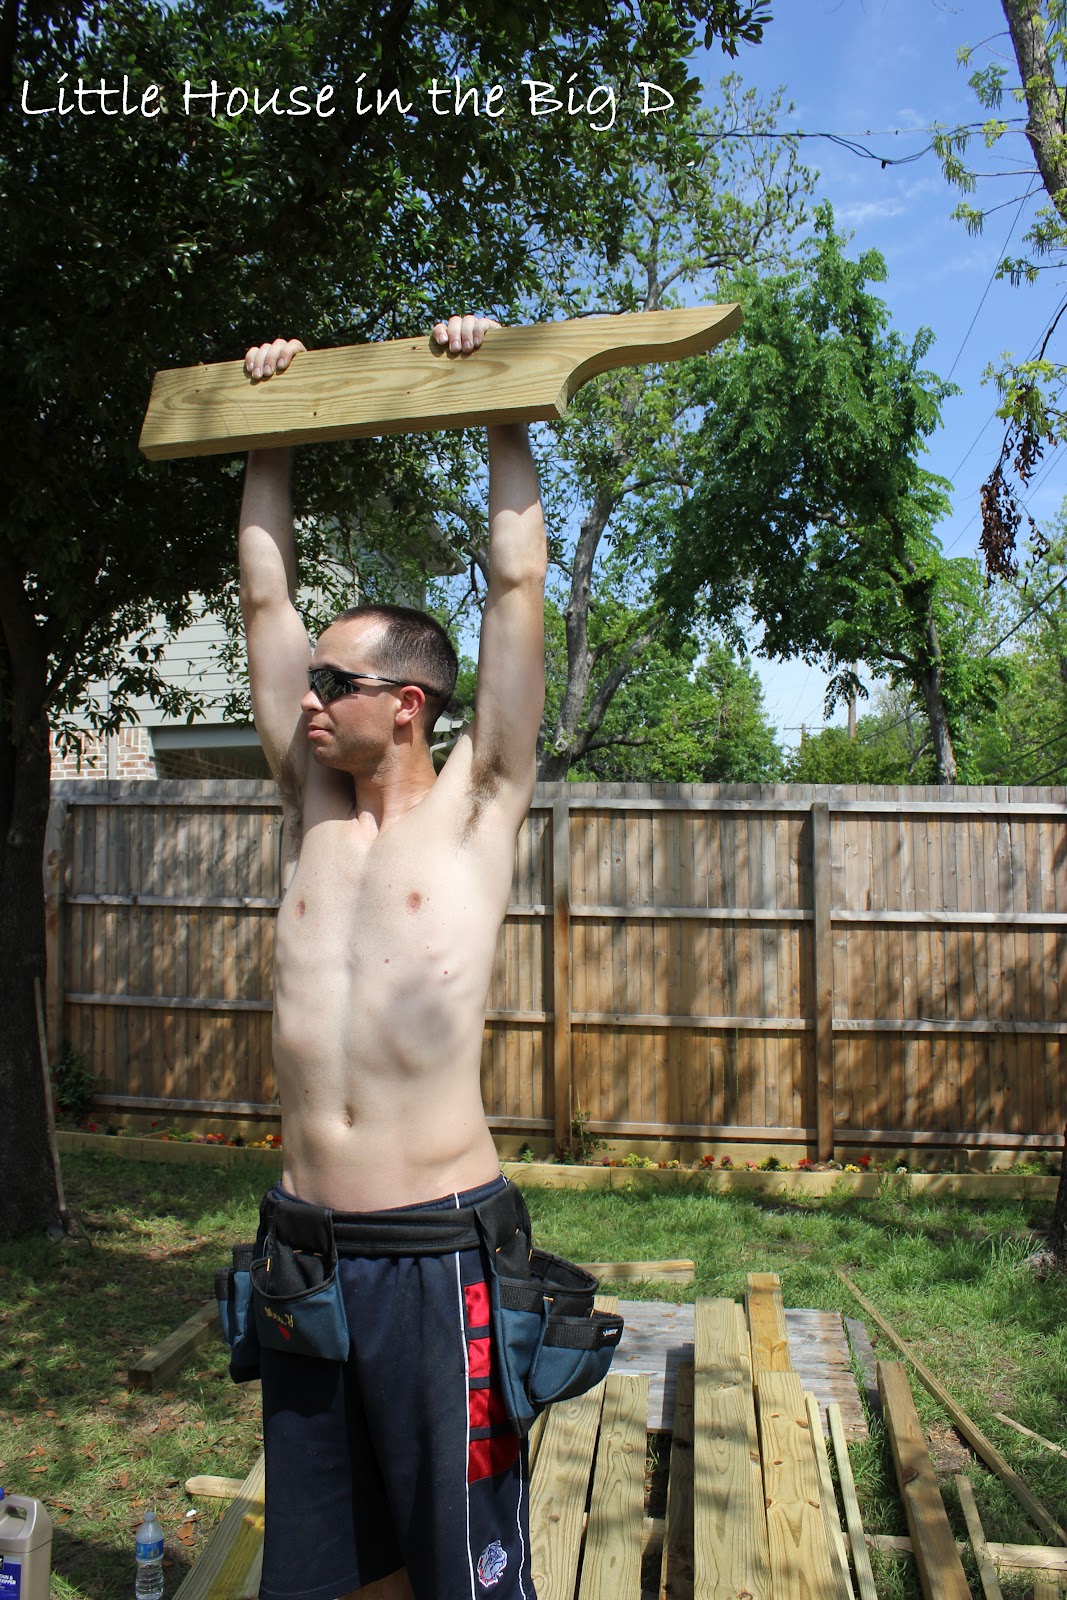
I drew it with pencil on one of the planks as a tester and asked Chris's dad cut it with a jigsaw for me...
Here's Jared modeling the finished piece...
Is it me, or does it kinda look like Tennessee?
Thank you Vanna Jared.

Once we cut one on an actual Pergola plank, here's how it looked...
Love.

Rocky even came out to visit and express his satisfaction as well...
So now that we knew what we were doing... more planks went up...

And for the first time EVER, we had functioning stairs...
Everything really started to move along... mostly due to Jared hammering and laying away!
I love having handy friends...

So at the end of week 2, here's where we stood....
I know it doesnt lookt like a HUGE difference from week 1, but the truth of the matter is we have stairs, finished railings, cut out pergola planks, and a two level pergola frame!...

Here is the sequential progress from where we started...
Seriously?... Im about to pee in my pants Im so excited to show you week 3... Its amazing. Seriously, these pictures will change you life... well, maybe not YOUR life, but they definitely changed ours!

I would love to get your feedback!  What part do you like best so far? Do you have super handy single friends that you also exploit for cheap labor? Are you excited to soon see the kinda finished product?
-Samm

Chevron Stripe Burlap Texas Frame

12:31 PM

Ok, so remember 2 months ago? When I said I was working on a frame wall in the kitchen? and left is looking like THIS for way, way, way too long?

Yea... I had to take these papers down before we had our St. Patty's Day party (again, over a MONTH AGO)... so I finally opened a very large bottle of wine and decided to finish the project.

Case in point, putting something in the empty frames...
I found some AWESOME frames for cheap at HomeGoods and have been dying to fill them for some time... only thing I needed was some inspiration, wine no-no juice, and my Texas Rangers kickin' some baseball booty...
P.S- Dear God, thank you for baseball pants... Amen...

Because I am burlap obsessed, and my mother-in-law was kind enough to gift me with three different kinds of burlap for Christmas, I chose a white burlap for this frame since I knew it would probably be the easiest to paint...
After I cut it to size, I decided I wanted to paint on a chevron stripe... this was the first template I found online...
 I tried cutting it so the stripes would be a bit larger, but it wasnt turning out the way I wanted, so I printed out a different, thicker template...
Still not quite thick enough (...thats what she said...) I cut out two stripes and used that instead...
Looking through some old mini paint samples I had, I decided on a Behr "Honey Bear" yellow since I thought it would look nice with our grey-walled kitchen...
I made sure and painted down, with the stencil, instead of against it to get the crispest striped line...
Three lines later, I had this...
After browsing for a while on Esty, I found this awesome chevron stripe + deer head outline and knew I wanted to do something like it...
If you would like to purchase this awesome piece of art... click here!
But since Chris "exnehed" the whole deer idea (... darn our little "we-must-agree-on-everything-that-goes-in-the-house" pack...) I had to find something else to silhouette.

Enter Google...

...and more wine... ... ...yay!....

When I searched "Silhouette" an outline of California popped up... and I immediately knew it would be a great opportunity to promote the great state of Texas...

After finding an outline of our cute little state, I cut it out, traced it...
And then painted it grey....
I then placed it over the chevron stripe to see how it would look...
One word answer: Awesome

I sprayed the back of it with a little Elmer's Spray glue (just to give it a little bit of hold since I knew the frame/glass would really keep it in place) and Voila!
My collection is complete...
Here's a closer up rundown of everything Im including...
Artichoke patch that I found on Etsy for $2.50

An Asparagus print on dictionary paper, also an Etsy find for $8.00


My Chevron Stripe Burlap Texas Frame that I just made

A traced burlap "y." I made on my Burlap frenzy night as remembered HERE
And this "lemon" I did on the same night that I made my Texas frame... as Im sure you can tell, I was a few glasses of wine in by the time I made this... oh well, it looks better from far away anyway...
SO, I put everyone up on the kitchen wall next to the sink, and here's how it looks....
I kinda like it...

Here's a wider angel that also shows off part of our awesome lil laundry room (remember that makeover by clicking HERE)
Man, I cannot WAIT to remodel our kitchen and bring in those travertine tile pavers!!... even though our kitchen rehab is SO way down the line, I still get excited just THINKING about it... hmmm mmmm.... travertine... (obscenely drooling)... mmmm

One more view close up, just for kicks....

So what do you guys think? Like the assortment? Do you think it "works" in a kitchen? Are you also a believer that crafting and a glass of wine sometimes produce the best work?

I would love to hear what you think!
(pssss- If you like my chevron burlap frame, check out my Etsy store and order one for you or a loved one!)


Like us on Facebook

Little House in the Big D

Flickr Images